Showing posts with label Pansy Petals Designer Series Paper. Show all posts

Wednesday, May 26, 2021

Blog Hop

 Canada Ink's Up! Blog Hop

It's time for another Canada Ink's Up!s Blog Hop. I wanted to showcase some of the new 2021-2023 In-Colors from Stampin' Up!


The NEW colours are: Polished Pink, Pale Papaya, Evening Evergreen, Soft Succulent and Fresh Freesia. 

Todays card uses the Fresh Freesia Card Stock and Soft Succulent Open Weave Ribbon, two of the new In-Colors!


I started with a Thick Basic White card base of 4 1/4" x 11" and I scored it at 5 1/2".

I die cut Fresh Freesia rectangle using the Scalloped Contours Dies, attach this to the card base. 

Cut a Basic White Scalloped Contours Die, the next size down. Attach using Dimensionals. 

Using Pansy Petals Designer Series Paper, die cut the next size down of the Scalloped Contours. Emboss this layer using the Tasteful Textiles Embossing Folder. Attach it to the Basic White layer using Multi-purpose Glue. 

Die cut from basic White C/S a Scalloped Contours label. Stamp a sentiment from Color And Contour Stamp Set using Evening Evergreen Classic Ink. Attach to the card front using Dimensionals.

Add a Bumblebee Trinket and Soft Succulent Ribbon to finish off the card. 

Thanks for hopping along with us today!! Check out all the other participants at the end of this post.
Happy Stamping and Creating,
Arlene




Sunday, May 9, 2021

Elegance in Polished Pink

 Elegance In Polished Pink

Oh the new 2021-2023 In-Color Polished Pink is simply stunning!!! I designed this card for the challenge over at Freshly Made Sketches

Be sure to check out all the other participants.


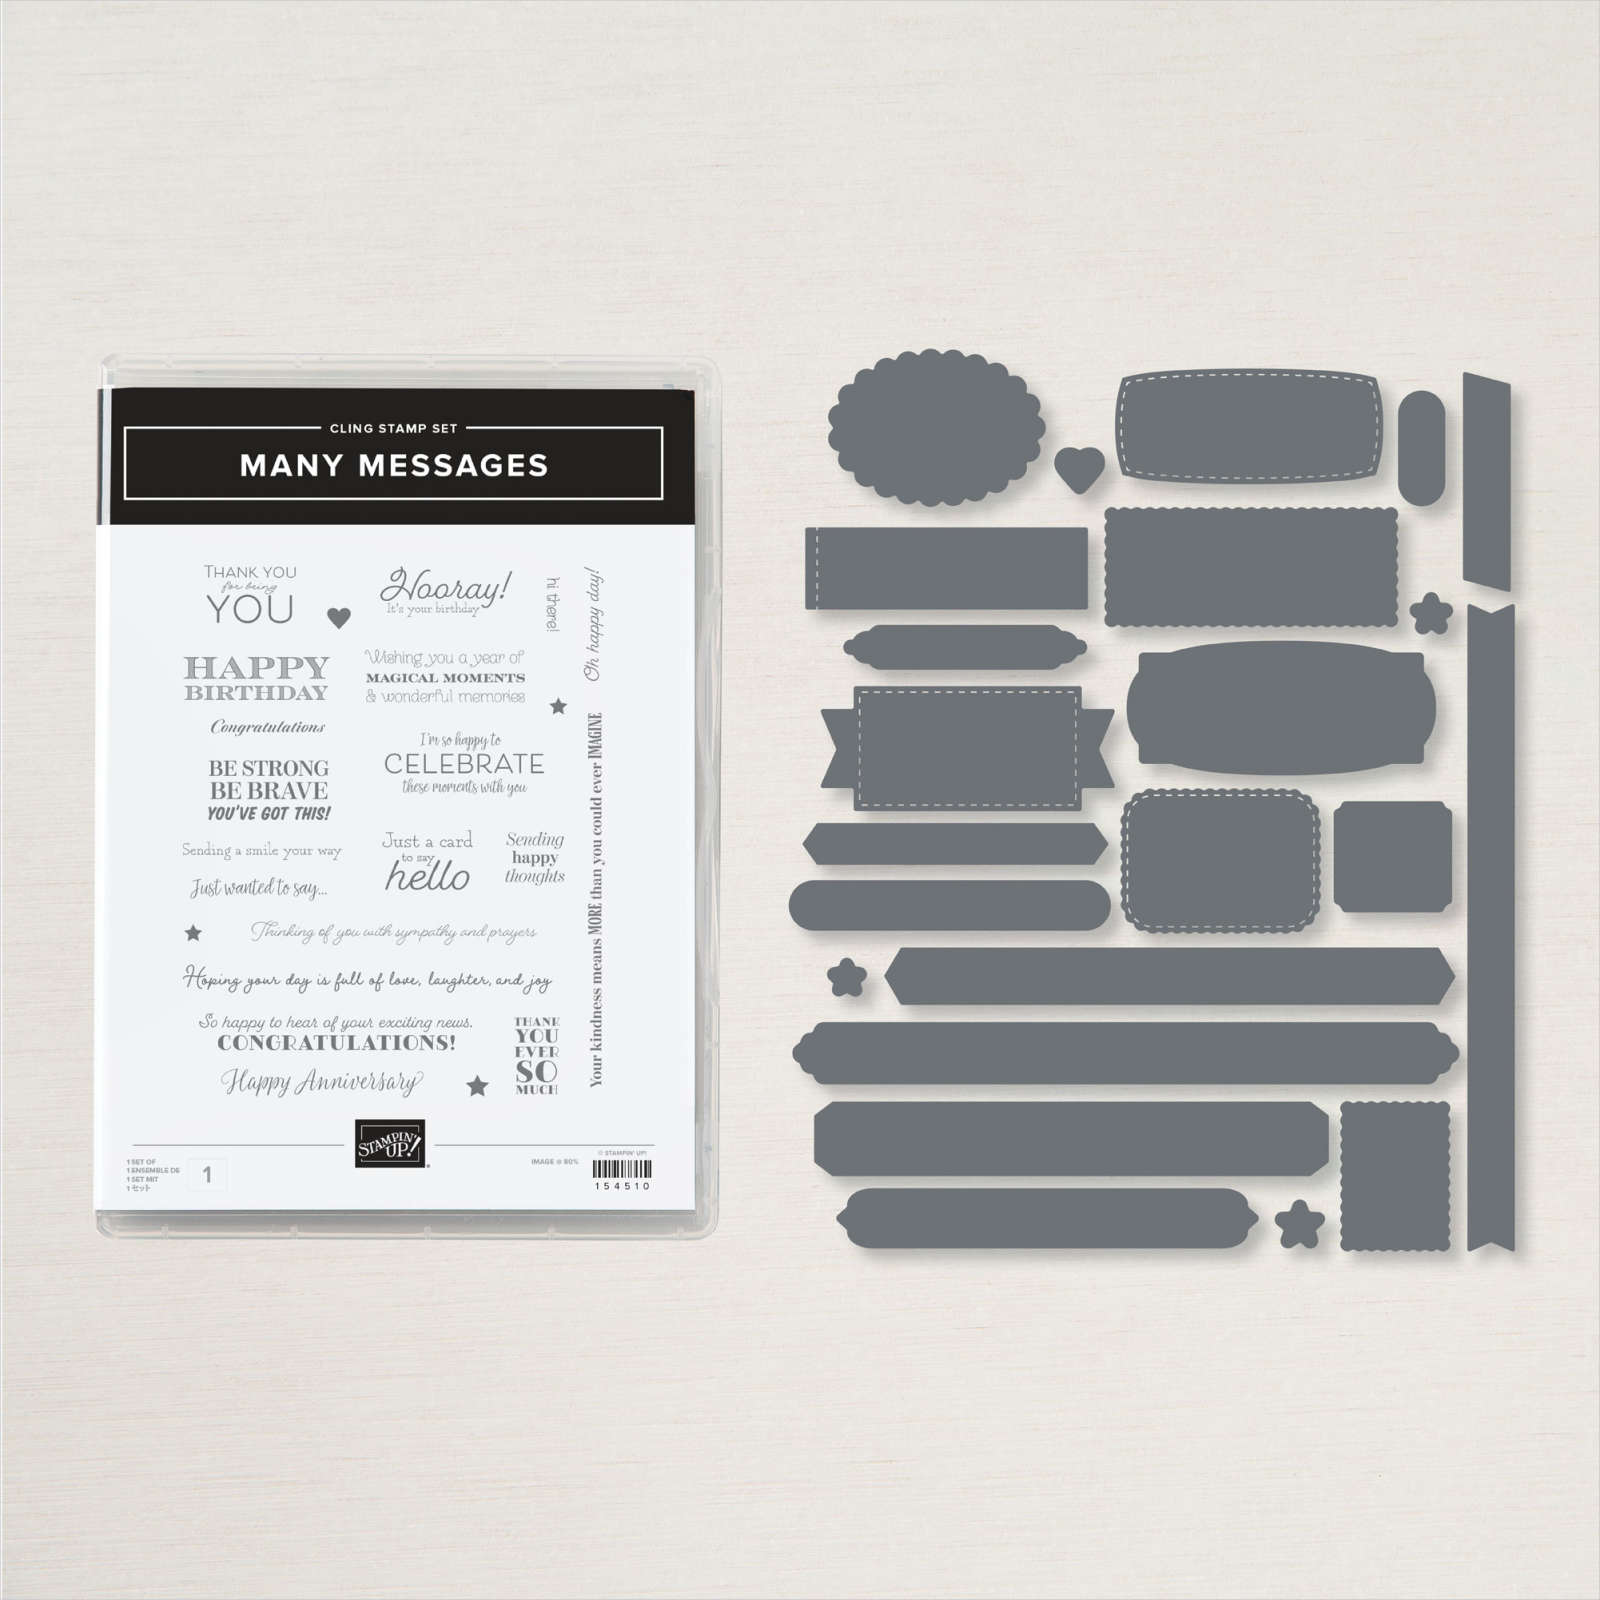
This is a super simple card. I started with a 5 1/2" x 8 1/2" card base scored at 4 1/4". I embossed the card front using the Tasteful Textiles Embossing Folder. I cut a piece of Basic Black Card Stock to 2" x 2 1/2" and a piece of Pansy Petals Designer Series Paper to 2 3/8" x 1 7/8". Glue these two pieces together and then emboss them using the Tasteful Textiles Embossing Folder. Punch out a large Basic Black C/S dragonfly using the Dragonflies Punch. Emboss it using the Tasteful Textiles EF. Attach the rectangle panel and the dragon fly to the card front using Dimensionals. Stamp a sentiment from Many Messages in VersaMark Ink and emboss using Basic Black Embossing Powder. Die cut out and attach to the card front using Dimensionals. 

*Tip: I stamped the complete stamp (it has many sentiments all in one large stamp) in VersaMark and Emboss them all, die cut them all out and then store the leftovers for future cards! It's nice to have so many sentiments all ready to go!

MANY MESSAGES BUNDLE


I finished up the card with a row of Rhinestones on the dragon fly. 


** Due to some upcoming changes to Blogger, please sign up for email alerts. When I add a new Blog post you will receive an email notifying you. Then you will never miss a post! If you previously signed up it may not work once these changes take effect. Sign up on the right hand side of the home page. 
Thank you!

Happy Stamping and Creating!
Arlene

Product List