Showing posts with label Many Messages Bundle. Show all posts

Sunday, August 1, 2021

Sending A Smile: New Blog Post

Sending A Smile

I really enjoy colouring, I find it very relaxing. For todays card I used my Stampin' Blends and the Host Designer Series Paper, Pattern Party. This DSP collection has 48 double sided sheets with some black and white patterns that are perfect for the Stampin' Blends or sponging!

The best part is you can earn this package of DSP for free!!!! Contact me for all the details. 


Directions and sizes:

The card base is Flirty Flamingo Card Stock, 8 1/2" x 5 1/2" and scored at 4 1/4". 

Cut a 3 1/2" x 5 1/2" piece of the striped pattern from the Pattern Party Host Designer Series Paper, attach to the card base using Multi-Purpose Liquid Glue.

Cut a 2 1/4" x 4 1/4" piece of the black and white floral Pattern Party DSP. Color using Flirty Flamingo and Melon Mambo Stampin' Blends. Once dry, attach this DSP panel to a piece of 2 1/2" x 4 1/4" Basic Black Card Stock. Using Dimensionals, attach this panel to the card base.

Add some Wink Of Stella to the flowers. Once dry, add Shimmery Crystal Effects to the flower centres. Set aside to dry completely. 

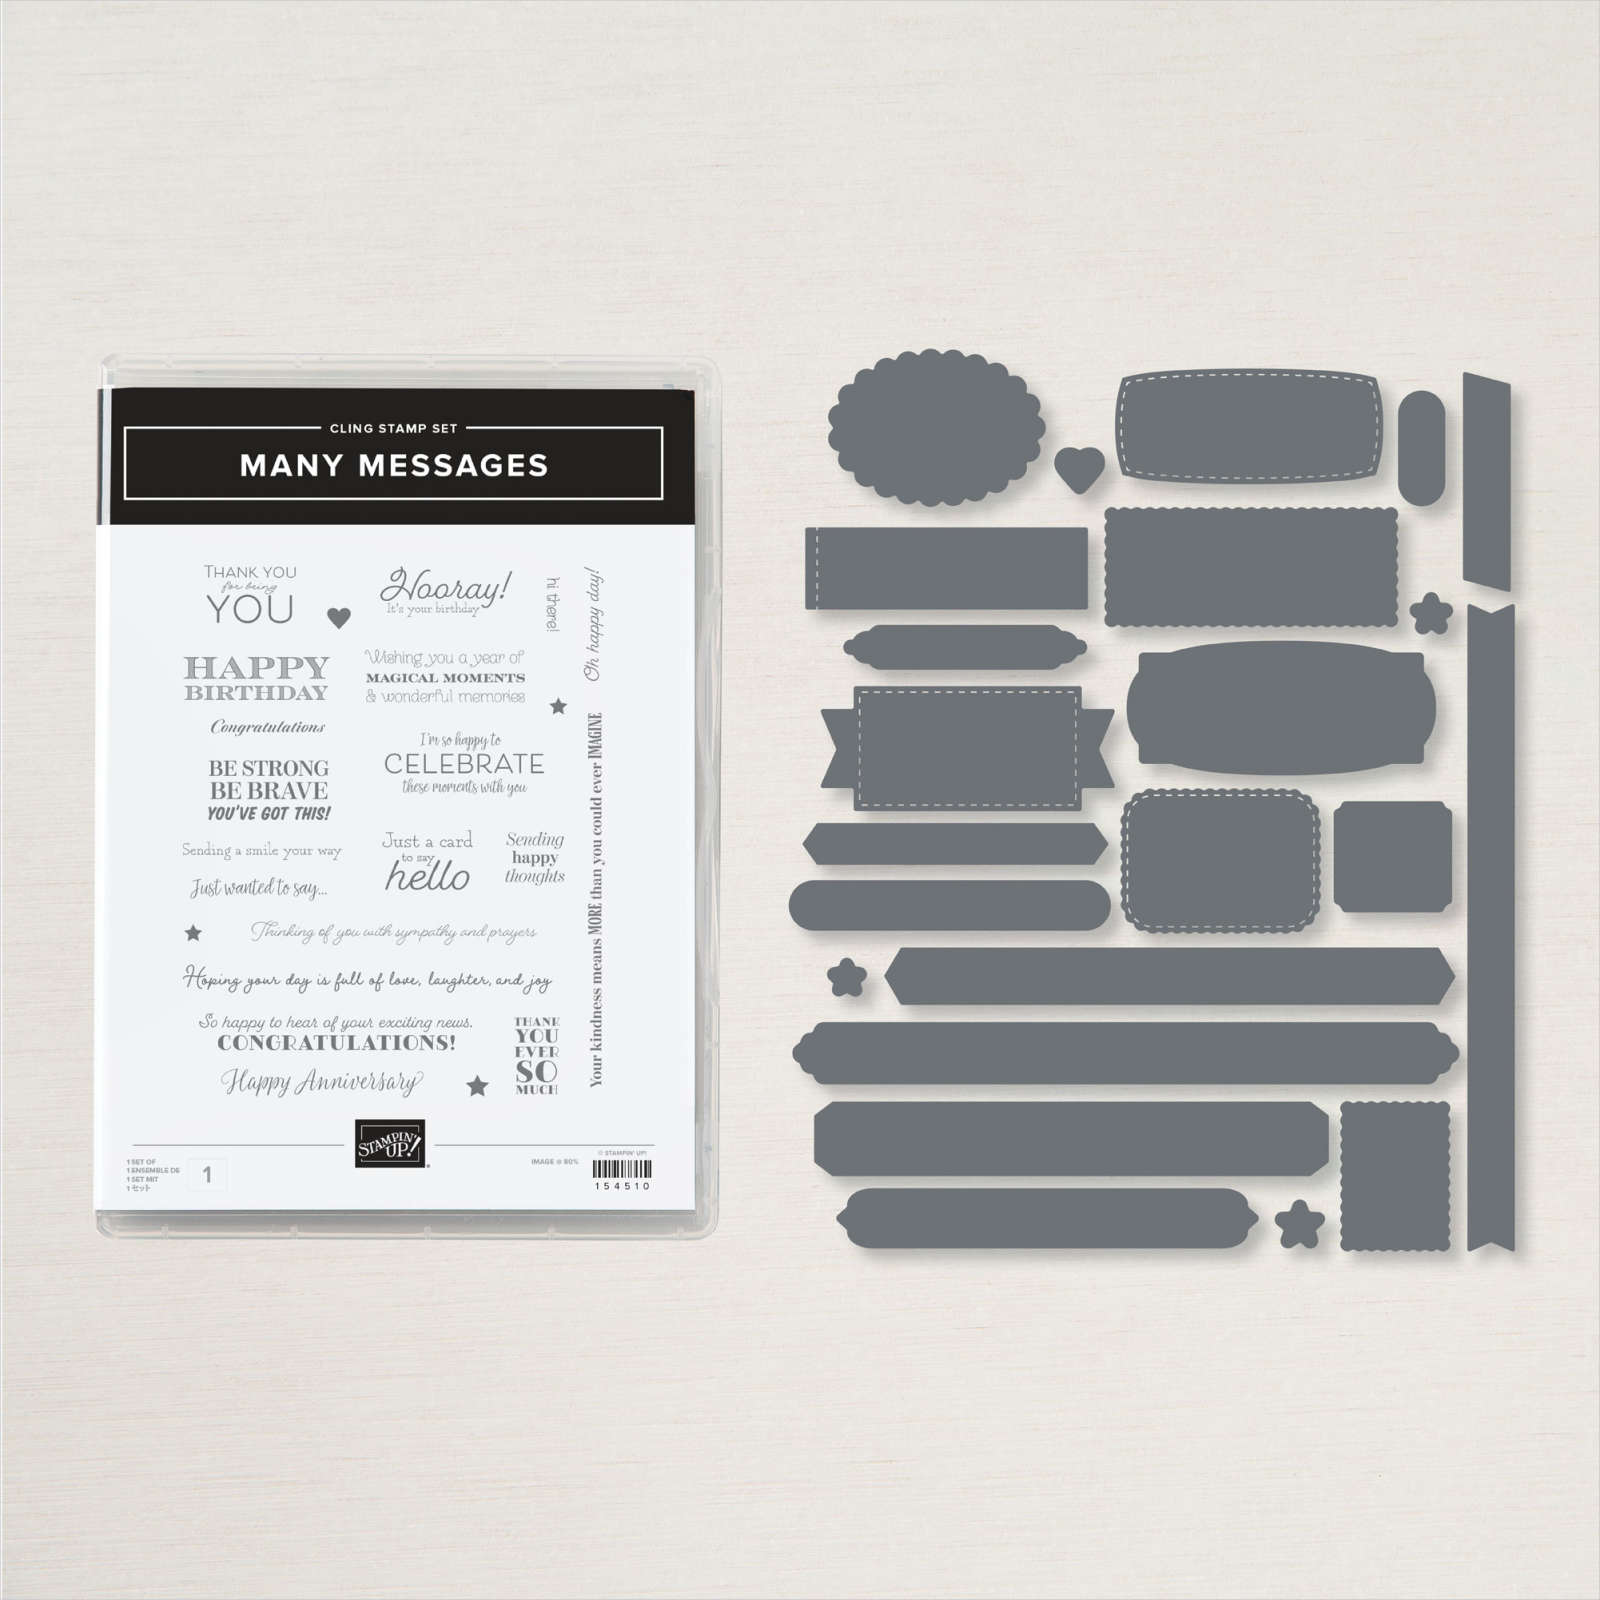
Ink up the Many Messages Stamp Set using Memento Black Ink, stamp onto Basic White C/S and die cut out all the sentiments at one time! *Tip: I keep all the extras in the die pouch so that they are there when I need them! Stamp them in all the different colours so you have lots ready to use! Attach the sentiment to the card front using Dimensionals. 

Tie a triple bow using Basic White Bakers Twine. Attach under the sentiment using a Mini Glue Dot.

Using your Stampin' Cut And Emboss Machine, die cut a Basic Black C/S floral image from the Artistic Dies. I cut it apart to use just a small section. Add some Multi-Purpose Liquid Glue to the end and tuck it under the sentiment tag. *Tip: make sure you keep the remainder of the die cut in the die pouch to use on another card!

This is a great layout to use over and over. Just change the Card Stock colours and Designer Series Paper!

Be sure to check out this great Designer Series Paper, Pattern Party! It's on page 171 of the 2021-2022 Annual Catalogue. You can earn it for FREE!!! Contact me for all the details.

Happy Stamping and Creating!

Arlene 🍁


If you don't already have a Stampin' Up! Demonstrator and you live in Canada I would love to help you out!


Product List
Paper Snips
[103579]
$13.50

Sunday, May 9, 2021

Elegance in Polished Pink

 Elegance In Polished Pink

Oh the new 2021-2023 In-Color Polished Pink is simply stunning!!! I designed this card for the challenge over at Freshly Made Sketches

Be sure to check out all the other participants.


This is a super simple card. I started with a 5 1/2" x 8 1/2" card base scored at 4 1/4". I embossed the card front using the Tasteful Textiles Embossing Folder. I cut a piece of Basic Black Card Stock to 2" x 2 1/2" and a piece of Pansy Petals Designer Series Paper to 2 3/8" x 1 7/8". Glue these two pieces together and then emboss them using the Tasteful Textiles Embossing Folder. Punch out a large Basic Black C/S dragonfly using the Dragonflies Punch. Emboss it using the Tasteful Textiles EF. Attach the rectangle panel and the dragon fly to the card front using Dimensionals. Stamp a sentiment from Many Messages in VersaMark Ink and emboss using Basic Black Embossing Powder. Die cut out and attach to the card front using Dimensionals. 

*Tip: I stamped the complete stamp (it has many sentiments all in one large stamp) in VersaMark and Emboss them all, die cut them all out and then store the leftovers for future cards! It's nice to have so many sentiments all ready to go!

MANY MESSAGES BUNDLE


I finished up the card with a row of Rhinestones on the dragon fly. 


** Due to some upcoming changes to Blogger, please sign up for email alerts. When I add a new Blog post you will receive an email notifying you. Then you will never miss a post! If you previously signed up it may not work once these changes take effect. Sign up on the right hand side of the home page. 
Thank you!

Happy Stamping and Creating!
Arlene

Product List

Saturday, March 27, 2021

Brilliant Wings Card

 Brilliant Wings Card

This is my card for the challenge over at 

Freshly Made Sketches.

I used the True Love Designer Series Paper. This DSP is black and white. I used my Stampin' Blends to add lots of Spring colour to the paper!


I started with a card base of Smoky Slate Card Stock, 4 1/4" x 11" and scored at 5 1/2".

Cut a piece of Basic Black C/S to 4 1/8" x 5 3/8".

Cut a piece of Pretty Peacock C/S to 4" x 5 1/4" and emboss using the Ornate Floral 3D Embossing Folder. Attach the Pretty Peacock C/S to the Basic Black C/S using Multi-Purpose Liquid Glue.

Cut a piece of True Love Designer Series Paper to 4" x 2". Colour using these Stampin' Blends combos; Calypso Coral, Pretty Peacock, Daffodil Delight, Soft Sea Foam, and Petal Pink. Attach it to the Pretty Peacock.

Using a Calypso Coral Dark Stampin' Blends, colour some White Crinkle Seam Binding Ribbon. Wrap it around the panel and tie into a bow. 

Attach the panel to the card base using Dimensionals.

Stamp a sentiment and die cut out using the Many Messages Bundle, attach to the card using Dimensionals. Add a Rhinestone to each end of the tag.

Die cut 3 butterflies using the Brilliant Wings Die and Shimmery White Card Stock. Attach them to the card front using Glue Dots. 

A list of all the supplies I have used is below. Click on any of the supply photos and you will be taken to my on-line shop. 

Happy Stamping and Creating!

Arlene Ross

Product List 

Paper Snips
[103579]
$13.50