Earthen Textures Thank You Card
I love all the natural tones of this card mixed with my favorite Misty Moonlight!

Directions:
Cut a card base of Grey Granite Card Stock 4 1/4" x 11" score at 5 1/2".
Cut a 4" x 5 1/4" piece of Grey Granite C/S, emboss using the Cane Weave Embossing Folder and attach to the card base.
Cut a 4" x 3/4" strip of the Earthen Elegance Designer Series Paper and attach to the card front.
Punch out 2 Vellum Circles with the 2 1/4" Circle Punch, attach to the card front.
Cut a 4" strip of the Copper Clay Ribbon and attach over the DSP strip.
Die cut the following:
1 Pecan Pie C/S large palm leaf, fold on the creases for a bit of texture
1 Vellum small palm leaf
1 DSP tall vase
1 Pecan Pie C/S decorative accent for the small vase
1 Misty Moonlight C/S tall vase
1 Misty Moonlight C/S twigs, cut in half width wise so you have 2 pieces
Stamp the small vase onto Misty Moonlight C/S using Misty Moonlight Ink and die cut. Add the Pecan Pie C/S decorative accent to the small vase using Multi-Purpose Liquid Glue. Trim off excess.
Glue the Misty Moonlight C/S tall vase behind the DSP tall vase so it's sturdier.
Wrap some Wavy Trim Cord around the tall vase 3X's.

Attach the vases with Dimensionals then tuck the palm leaves under them and use tiny dots of Multi-Purpose Liquid Glue to attach. *Tip: you might have to trim down some of the leaf stalks.

Stamp the sentiment onto a piece of Basic White C/S using Misty Moonlight Ink. Attach to the card.
Add a Gold Cord Bow and some Adhesive Backed Sparkle Gems.
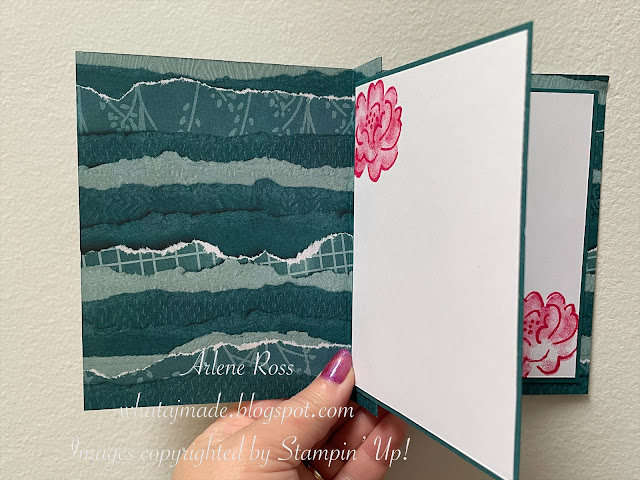
For the inside I stamped a small vase in Misty Moonlight Ink. I "masked" the vase and stamped the leaves in Pecan Pie Ink. (To make a mask, stamp the vase onto a piece of Post-It-Note where the sticky part is. Fussy cut it out. Lay it on top of the vase and stamp the leaves. This makes it look like the leaves are inside the vase.)

I hope you have enjoyed todays card and find some time today to be creative!

Now is a great time to join the Stampin' Up! family and my team!
Promotion Period: 3–31 October
Ordering Deadlines
- Phone: 31 October 2023; 6:59 PM (MT)
- Online: 31 October 2023; 11:59 PM (MT)
New demonstrators can choose one of the following options for their Starter Kit:
Option 1: Get 35% OFF the normal cost of a Stampin’ Up! Starter Kit. Those who select this option will receive $165 CAD worth of product for only $87.75 CAD!
Option 2: Get 35% MORE product with their Starter Kit. Those who select this option will receive $222.75 CAD worth of product by spending $135 CAD!
No matter which option new demonstrators choose for their Starter Kit, both provide them with free business supplies and free shipping on their Starter Kit—not to mention all the fun that comes with being part of Stampin’ Up!
FREE OnStage@Home Registration
It gets better! Those who sign up for a Starter Kit during this offer will also be automatically registered for FREE* to our virtual OnStage event on 11 November—a $77 USD | $102 CAD value!
- Those who sign up for this offer have the opportunity to watch the event independently, gathered together with other demonstrators, or with their Team Leader.
- Demonstrators who join during this promotion will be automatically added to the OnStage attendees; they do not need to register separately.
- Demonstrators who join during this promotion will also receive an email with all the information about this event.
*Please note that free registration will not include the gift box.

This kit includes:
- Enough supplies to create 25 individual envelopes
- Printed die cuts, printed labels, adhesive, embellishments, clothespins, and twine
- Folded envelope size: 4" x 3" (10.2 x 7.6 cm)
- Coordinating colors: Cherry Cobbler, Crumb Cake, Mossy Meadow, Old Olive
 |  |  | |
 |  | ||
 | |||
 |  |  |  |
 |  |  |