Wednesday, February 8, 2023

(New Post) Scenic Garden Card

 Scenic Garden Let's Celebrate Card

I just had to use this beautiful stamp set, Scenic Garden again. In an earlier post I made these cards here. I wanted to show you how versatile this set is. This set can be earned for free during Sale-A-Bration 2023 with a qualifying order! Contact me for more details.


Directions:

Cut a card base of Pear Pizzazz Card Stock to 5 1/2" x 8 1/2" and score at 4 1/4".

Cut an art layer of Basic White C/S to 4 3/4" x 3 1/2". 

Using the Stampin' Up! Blending Brushes add some Pear Pizzazz Ink to the lower left corner of art panel. I wanted a very soft look so I made sure to remove lots of the ink onto scrap paper before adding the ink to the panel. Do the same with Balmy Blue Ink, adding it to the top left of the panel. 

Splatter some Wink Of Stella onto this panel.

Stamp the bench and the sentiment using Memento Black Ink.

Cut a 5" x 3 3/4" piece of Basic Black C/S and attach the art panel to this layer. 

Cut some 1/2" strips of Basic Black C/S and attach to 2 opposite corners of the panel. See photos for placement. Snip off excess so it is even with the Basic Black panel.

Attach this panel to the card base.

Take a 5" piece of the Metallic Mesh Ribbon and cut it into 3 lengthwise strips. (I wanted a daintier piece of this ribbon), tie it into a knot and attach to the card using a Glue Dot.

Tie a bow using the Black And White Gingham Ribbon and attach with a Glue Dot just above the Metallic Mesh Ribbon. 

If you don't enjoy colouring in an image then this is a great card technique for you. 


With a different sentiment I think this would make a beautiful sympathy card. 

I hope you have liked todays card! 

Happy Stamping and Creating!

Arlene


Product List
Paper Snips
[103579]
$15.00

Sunday, February 5, 2023

(New Post) Decorative Borders

 Decorative Borders

I love the look of black and white cards! They are so fresh and clean looking!

I left off a sentiment so I could use this card for any occasion. It's always handy to have some blank cards on hand! 

Directions:

Cut a piece of Thick Basic White Card Stock to 5 1/2" x 8 1/2" and score at 4 1/4.

Cut a piece of Basic Black C/S to 5 1/2" x 3 3/4". Emboss this layer using the Painted 3D Embossing Folder and attach to the card base using Multi-Purpose Liquid Glue.

Cut a piece of the Textured 12 x 12 Shimmer Paper to 1" x 5 1/2" and attach to the Basic Black layer. Using a little piece of the Shimmer Paper adds so much to the card!


Die cut a Basic White label using the Scalloped Contours Dies.

Using Memento Black Ink, stamp the floral image onto the Scalloped label. Stamp one time, then flip the stamp and stamp again so the images are back to back.


Wrap some Black And White Gingham Ribbon around this layer and attach to the card base using Dimensionals. 

Die cut a small Basic White C/S circle and a Basic Black C/S scalloped circle from the Layering Circles Dies. 

Stamp the flower onto the Basic White circle using Memento Black Ink then layer it onto the Basic Black scalloped circle and attach to the card using a Dimensional. Add a few Rhinestones to finish off the card.


I hope you have enjoyed todays card and that I have inspired you to try and make one for yourself!

Happy Stamping and Creating!

Arlene


Product List
Paper Snips
[103579]
$15.00

Thursday, February 2, 2023

(New Post) Greeting Card Gift Set

 Greeting Card Gift Set

I love making cards sets and a matching bag or box to hold them.

I made a set of cards on this Blog Post here. As promised here is the matching bag to hold them!


Directions: 

You start with a 8 1/4" x 12" piece of the Dandy Designs Designer Series Paper. I used this DSP for all the cards. 


On the 12" side, score at 4 1/2", 5 3/4", 10 1/4" and 11 1/2".

Turn and score on the 8 1/4" side at 1 1/4" and 7 1/4.

Burnish on all the score lines.

The bottom of the bag is the 1 1/4" score line. 

Cut up to the first score line (1 1/4") as shown in the photo. 

Remove both small corners on the 11 1/2" score line. 

Fold over the top 1" score line for the bag top.  

Add adhesive to the 11 1/2" score line and fold over to adhere the bag together.

Fold in bottom flaps and add some glue to the last flap.


Use a small hole punch to punch some holes into the sides of the bag to add a ribbon handle. 


To decorate the bag I used the Something Fancy Dies to cut a Basic White Card Stock label. I stamped the words from the Quiet Meadow Stamp Set using Petal Pink Ink stamped off one time for a softer look.

I added some Crinkle White Ribbon under the tag then attached it to the bag using Dimensionals.

I die cut a Basic Black C/S floral piece and a butterfly using the Meadow Dies. I attached them over the label.

I used some Glittered Organdy Ribbon for the handle.

This bag could easily fit 5 cards and envelopes. 

Such a great gift idea!

The Dandy Designs Designer Series Paper is one of the FREE offerings from our Sale-A-Bration 2023 promotion! 

Check out the Sale-A-Bration Catalogue HERE!

I hope you like todays project and get a chance to create your own gift bag and card set!

Happy Stamping and Creating!

Arlene


Product List

Meadow Dies
[155852]
$52.00
Paper Snips
[103579]
$15.00

Wednesday, February 1, 2023

(New Post) More To Sale-A-Brate


We are half way through Stampin' Up!'s 2023 Sale-A-Bration promotion! 

Today is the day you get to order from the second release products! 

The following products are free with a $60 qualifying purchase.


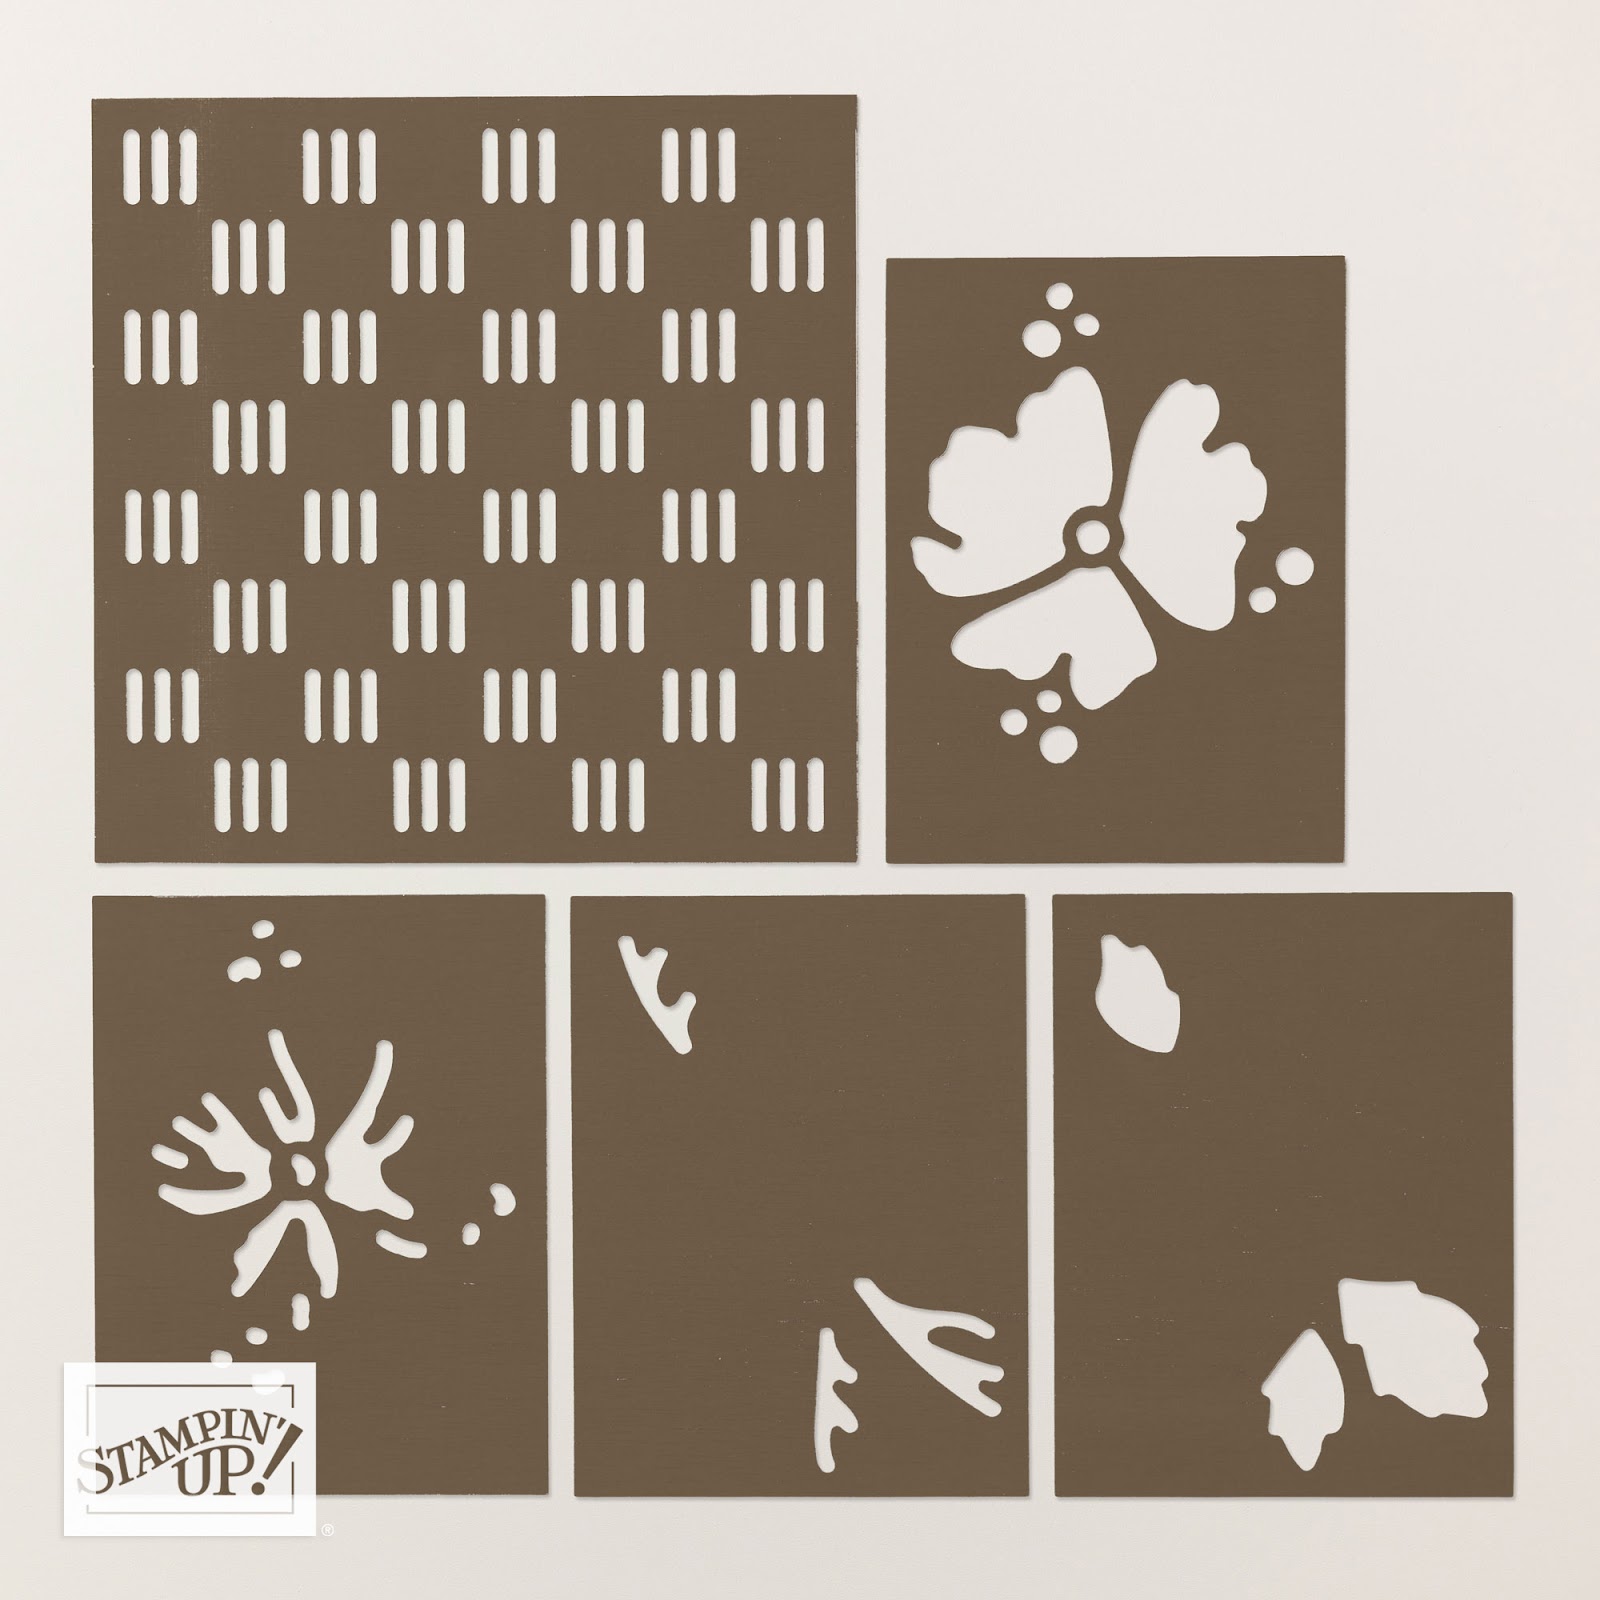
Loveliest Layers Decorative Masks #164426


Enjoy The Journey 12 x 12 Designer Series Paper #164425


Hive 3D Embossing Folder #164424


Into The Clouds Embossing Folder #164423


Songbird Builder Punch #164422


Essentials Tag Punch #164421


White 3/4" Frayed Ribbon 2 Spools #164420


Let's Party Treat Packaging Kit #164005


Kindness Cards Kit #163998

Free with a $120 qualifying purchase.


Eden's Garden Bundle #163999


Happy shopping!!
Arlene