Showing posts with label Stylish Shapes Dies. Show all posts

Sunday, June 11, 2023

In The Moment Card

 In The Moment For Freshly Made Sketches 

It's time for another sketch challenge at Freshly Made Sketches. 

I have had this stamp set, "In The Moment" for quite some time but had never used it! My BFF Sue encouraged me to give it a try and now I love it!! She always knows right! LOL

Be sure to check out all the other participants for this weeks challenge.
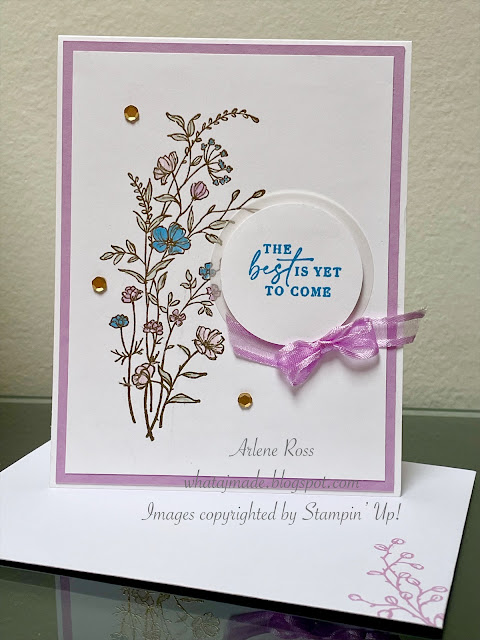
Freshly Made Sketches #589

Here is my card.


Directions:

Cut a Thick Basic White Card Stock base at 5 1/2" x 8 1/2" and score at 4 1/4".

Emboss the card base front using the Basics 3D Embossing Folders. I used the floral one.

Cut a strip of Lost Lagoon C/S to 1 3/8" x 5 1/2" and a piece of the Inked Botanicals Designer Series Paper to 1" x 5 1/2". Attach these two together then attach to the card front.

Attach some Lost Lagoon Bordered Ribbon to the card base in the center. I went back and forth a few times anchoring it with some Tear And Tape.

Die cut a large Basic White C/S circle from the Stylish Shapes Dies. Stamp the girl in the window using Memento Black Ink.

Color the girl using Stampin' Blends. I used: Pool Party, Soft Sea Foam, Nude, Grey Granite, Crumb Cake and Misty Moonlight.


Attach the circle using Dimensionals to the card front.

Die cut a flag label using Stylish Shapes Dies and Basic White C/S. Stamp the sentiment using Memento Black Ink. Attach using Dimensionals to the card front.


I hope I have inspired you today!

Happy Stamping and Creating!

Arlene

If you don't already have a Stampin' Up! Demonstrator I would love to help you out. Shop with me here. Thank you!


Product List
Paper Snips
[103579]
$15.00

Monday, May 29, 2023

The Best Is Yet To Come!

 The Best Is Yet To Come!

This is another card I taught at the beginners card class. It's always so impressive to see the magic of heat embossing!


Directions:

Cut a piece of Thick Basic White Card Stock to 4 1/4" x 11" and score at 5 1/2".

Cut a piece of Fresh Freesia C/S to 4 1/8" x 5 3/8" and attach it to the card base.

Cut a piece of Basic White C/S to 3 7/8" x 5 1/8". Stamp the floral image using VersaMark Ink, sprinkle Gold Embossing Powder over the image, tap off and heat set.

Using Stampin' Blends, colour in the flowers and leaves. I used: Light Soft Sea Foam, Light Fresh Freesia and Light Azure Afternoon. I wanted the colours to be soft and light.

Attach this layer to the card base.

Using Azure Afternoon Ink, stamp the sentiment onto Basic White C/S. Punch out using the 1 3/4" Punch or Stylish Shapes Dies.

I just love this sentiment! Such a positive message!

Punch out a 2" Vellum C/S circle or die cut the circle with Stylish Shapes.

Attach the sentiment to the Vellum circle using Dimensionals. Then attach it to the card front.

Attach a ribbon bow using a Glue Dot and add some Gold Sequins to finish off the card. I used Fresh Freesia Ribbon but it has retired so any ribbon you have would be great. 


Don't forget to stamp your envelope and inside of the card!

Thanks for stopping by today!

Happy Stamping and Creating!

Arlene

To order any of the products I have used today just click on the image and you will be directed to my on-line store. I appreciate all orders. Thank you!

If your order is $60.00 or more I will send you this card!! Or this card: You choose!

Product List

Paper Snips
[103579]
$15.00

Sunday, April 23, 2023

(New Post) Sweet Songbirds

 Freshly Made Sketches Sweet Songbird Card

I had fun with this weeks sketch challenge over at Freshly Made Sketches!

Be sure to take a look at all the other amazing projects HERE!

So much talent all in one spot!

This is the sketch challenge.


This is my interpretation of the sketch.


 I decided to use a few new colors that will be added to the Stampin' Up! Colors Collections May 2nd, 2023.

The card base is the new Azure Afternoon Card Stock and the bird and flowers are the Azure Afternoon Ink! It's such a  beautiful color!! I also used the new Pecan Pie Ink for the branch.

Directions:

Cut Azure Afternoon Card Stock to 4 1/4" x 11" and score at 5 1/2".

Cut a piece of Basic White C/S to 4" x 5 1/4" and emboss using the New On-Line Exclusives Basics 3D Embossing Folder. Attach this layer to the card base using Multi-Purpose Liquid Glue. (Shop the On-Line Exclusives in my store Here!)

Die cut 2 Basic White C/S circles using the Stylish Shapes Dies. One large circle and one medium circle.

On the larger circle, stamp the branch and the birds feet in Pecan Pie Ink and the leaves in Soft Sea Foam Ink.

On a separate piece of Basic White C/S, stamp the bird and wing in Azure Afternoon Ink. Stamp the beak in Daffodil Delight Ink and the eyes in Memento Black Ink. Punch out using the co-ordinating Bird Punch. 


Attach the bird body using Dimensionals to the larger circle over top of the legs. Attach the wing using a Dimensional. Attach this circle to the card front using Dimensionals. 

On the medium circle, stamp the branch in Pecan Pie Ink, the leaves in Soft Sea Foam Ink and the flowers in Azure Afternoon Ink. Add some Rhinestones. Attach this circle to the card front using multi-purpose Liquid Glue.

On a scrap on Basic White C/S, stamp the sentiment using Memento Black Ink. Attach to the card using Dimensionals.

Wrap some Linen Thread around the card 2X and tie into a bow.


 For the inside I stamped the branch, leaves, flowers and the sentiment using the same colors as the card front.


Don' forget to decorate the envelope too!


🛒🛒🛒 Shop in my store Here! Thank you! 💕

I hope you have enjoyed todays card! I would love to hear from you, leave me a comment 💜

Happy Stamping and Creating!

Arlene

Product List
Paper Snips
[103579]
$15.00