Showing posts with label Stampin Blends. Show all posts

Thursday, September 5, 2024

NEW Holiday Catalogue! 🎄

 The New Holiday Mini Catalogue Is Here!


Check it out HERE!!

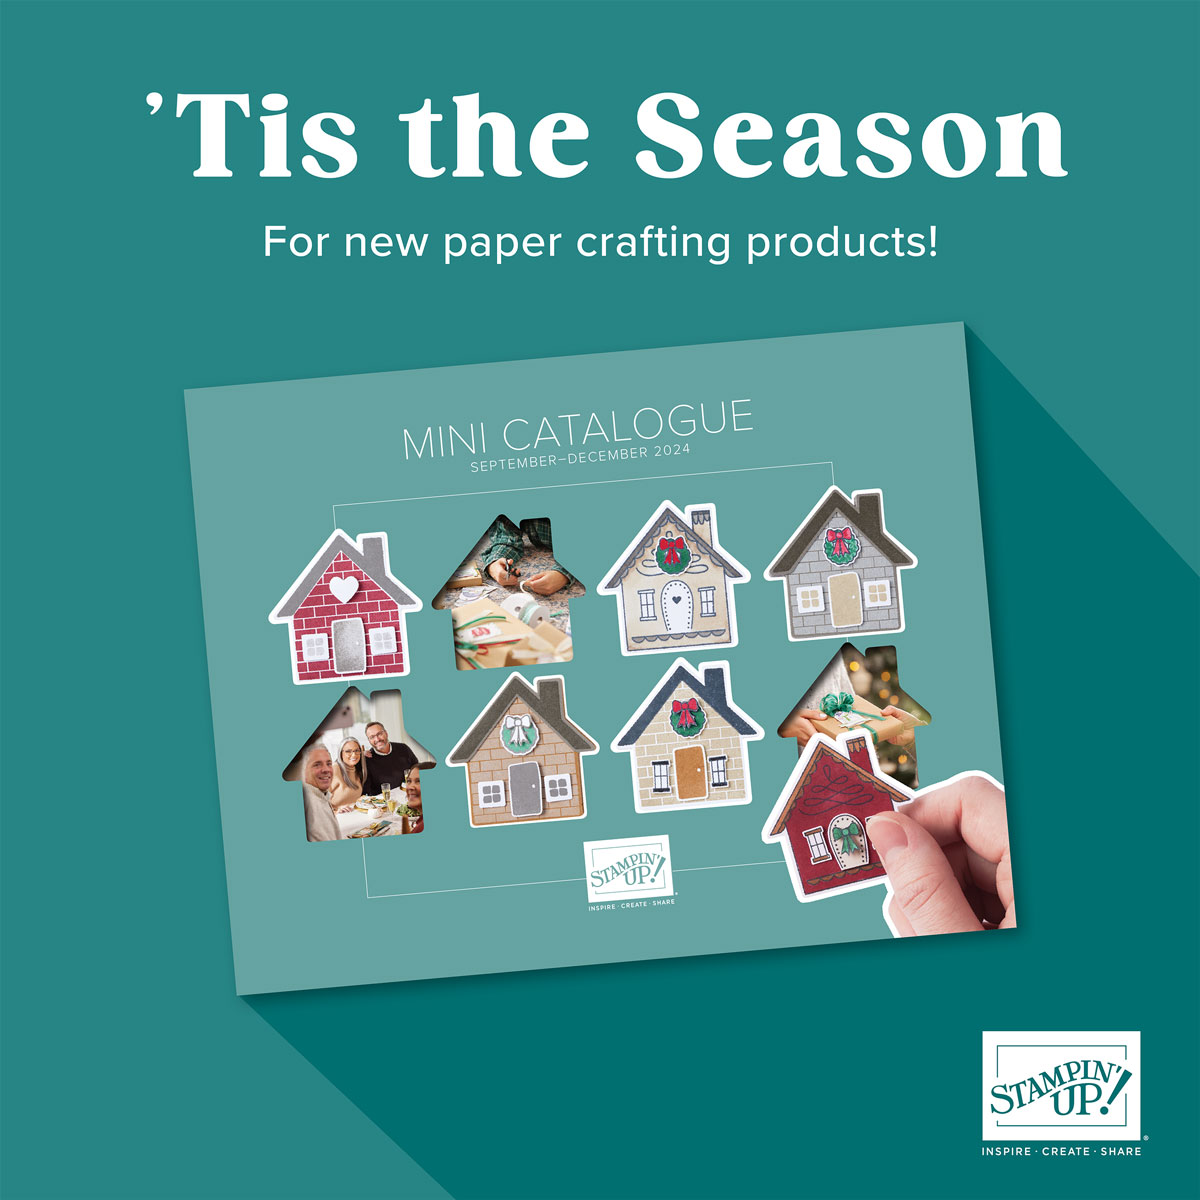
As a Demonstrator I received my copy a little while ago so I have been able to really check it out! It is full of amazing Collections, Bundles, Dies, Designer Series Papers, Ribbons and Embellishments. 

I love how Stampin' Up! coordinates everything. The colors in the Designer Series Papers match the colors of inks, ribbons, Stampin' Blends and even the embellishments! This makes card making and scrapbooking so easy!

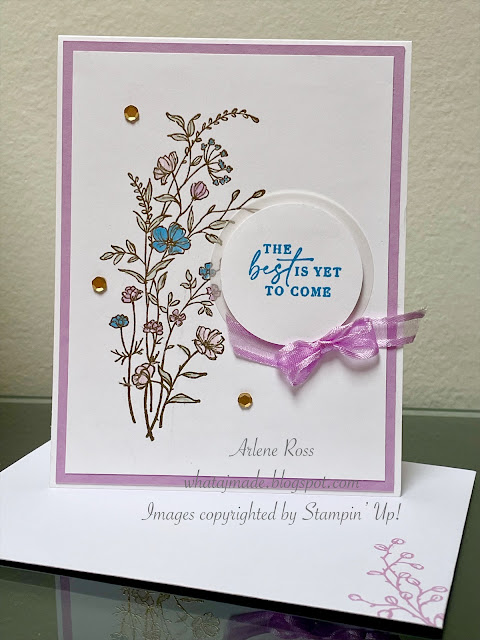
Stampin' Up's On-Line Exclusives section also has some Holiday sets. One of the sets I picked up was the Sophisticated Sled Bundle and the Season Of Green And Gold DSP. 

I made this card using both of those products and the adorable Cherry Cobbler & Pearl Adhesive Backed Dots.


It's called a Zig Zag Fun Fold or an angled cut card. If you head over to The Paper Pixie she has an amazing tutorial.

Paper Pixie


I hope you have enjoyed todays card and have some time to check out the New Catalogue!!

Happy Stamping and Creating!

Arlene

Product List

Paper Snips
[103579]
$16.50

Monday, May 29, 2023

The Best Is Yet To Come!

 The Best Is Yet To Come!

This is another card I taught at the beginners card class. It's always so impressive to see the magic of heat embossing!


Directions:

Cut a piece of Thick Basic White Card Stock to 4 1/4" x 11" and score at 5 1/2".

Cut a piece of Fresh Freesia C/S to 4 1/8" x 5 3/8" and attach it to the card base.

Cut a piece of Basic White C/S to 3 7/8" x 5 1/8". Stamp the floral image using VersaMark Ink, sprinkle Gold Embossing Powder over the image, tap off and heat set.

Using Stampin' Blends, colour in the flowers and leaves. I used: Light Soft Sea Foam, Light Fresh Freesia and Light Azure Afternoon. I wanted the colours to be soft and light.

Attach this layer to the card base.

Using Azure Afternoon Ink, stamp the sentiment onto Basic White C/S. Punch out using the 1 3/4" Punch or Stylish Shapes Dies.

I just love this sentiment! Such a positive message!

Punch out a 2" Vellum C/S circle or die cut the circle with Stylish Shapes.

Attach the sentiment to the Vellum circle using Dimensionals. Then attach it to the card front.

Attach a ribbon bow using a Glue Dot and add some Gold Sequins to finish off the card. I used Fresh Freesia Ribbon but it has retired so any ribbon you have would be great. 


Don't forget to stamp your envelope and inside of the card!

Thanks for stopping by today!

Happy Stamping and Creating!

Arlene

To order any of the products I have used today just click on the image and you will be directed to my on-line store. I appreciate all orders. Thank you!

If your order is $60.00 or more I will send you this card!! Or this card: You choose!

Product List

Paper Snips
[103579]
$15.00

Saturday, July 2, 2022

New Blog Post

 You're So Hip!

Have you seen the Hippest Hippo Sale-A-Bration Stamp Set and matching Hippo Dies? They are super adorable!! You can earn the stamp set and matching dies for FREE during Sale-A-Bration July 1st-August 31St, 2022.

Check out the SAB Catalogue HERE.


I had so much fun adding all the details to this cute card. This die set contains 19 pieces! So many fun possibilities.


Do you see those little white dots? They are a new product called Pearlized Enamel Effects. They come in a set of three, White, Black and Real Red. It's a quick and easy way to add some interest to a card. They are on page 59 of July-Dec 2022 Mini Catalogue.


I started with a 3 3/4" x 5" Basic White Card Stock panel. I used the Blending Brushes and Pear Pizzaz Ink and Balmy Blue Ink to add the sky and the ground. I tore a strip of paper and again used my Blending Brushes to create some detail in the sky.

I stamped the hippo in Memento Black Ink and coloured him with Stampin' Blends, die cut and then I covered him in Versamark Ink and heat embossed him using Clear Embossing Powder. I also heat embossed the Real Red C/S bucket.

Die cut the following: 

Bucket, Real Red C/S and heat embossed using Clear Embossing Powder. 

Grass, Shaded Spruce C/S

Snorkel and mask, Bermuda Bay C/S

Flower, Daffodil Delight C/S

Water splashes, Balmy Blue C/S

Sentiment tags, Basic White and Bermuda Bay C/S

I added some Basic White Bakers Twine behind the sentiment, a Rhinestone on the Daffodil Delight Flower and the White Pearlized Enamel Effects around the bucket.

The card base is Real Red C/S cut to 4 1/4" x 11" and scored at 5 1/2". 

Happy Canada Day to my Canadian friends and Happy 4th of July to all my American friends! Have fun and stay safe everyone!!

 Happy Stamping and Creating!

Arlene


Product List
Hippo Dies
[159928]
$0.00
Paper Snips
[103579]
$15.00