Showing posts with label RHINESTONES. Show all posts

Sunday, July 9, 2023

Lost Lagoon Birthday Card

 Lost Lagoon Birthday Card

I'm so happy that Stampin' Up! brought back Lost Lagoon to its colour families! It's such a pretty colour! It looks so great paired with Basic Black too!

Directions:

Cut a Basic White Card Stock base to 5 1/2" x 8 1/2" and score in half at 4 1/4".

Cut a 5 1/2" x 4 1/4" piece of the Inked Botanicals Designer Series Paper and attach it to the card front.

Cut a piece of Basic Black C/S to 5" x 3 3/4" and attach to the card front.

Cut a piece of Basic White C/S to 4 1/8" x 3". Using Lost Lagoon Ink and the large flower from Artistically Inked Stamp Set, stamp the flower in the center/top of this layer. Stamp the flower center using Daffodil Delight Ink. Die cut out the flower. 

The negative is attached to the card base using Dimensionals. 

Using Dimensionals on the back of the flower, place it back inside the negative cut out. I love the way that the Basic Black C/S shows around the flower!

Die cut a Basic Black C/S leaf sprig. Cut off 2 leafs and tuck them slightly under the flower using a Glue Dot. 

Cut out 2 very thin pieces of Basic Black C/S. Fold and glue the ends together to make 2 loops. Tuck them under the flower attaching with Glue Dots. This is a fun and easy way to add some more interest and dimension to a card.


On a strip of Basic White C/S stamp a sentiment using Memento Black Ink. I also added a coordinating strip of the Inked Botanicals DSP at the end of the sentiment strip. Attach it to the card front using Dimensionals.


Tie a bow using Black Bakers Twine, attach with a Glue Dot.

Attach a large Rhinestone to the center of the flower, then surround it with the smaller Rhinestones.


Add a few more Rhinestones to finish off the card.


I stamped a smaller Lost Lagoon flower inside the card and on the envelope.

To purchase any of the products that I have used today just click on any of the product images below. 

It is also Bonus Days over at Stampin' Up! Shop today and save in August! Spend  and receive $6.00 off coupons for every $60.00 spent! Then redeem the coupons in August! 


Head over to my Stampin' Up! On-Line Store to check out all the specials and to shop!

SHOP HERE 

I appreciate you supporting my small business! Thank you!

If you are on a smartphone viewing this Blog click at the bottom of this page where it say "view web version" to see everything that my Blog has to offer.

Product List

Paper Snips
[103579]
$15.00

Monday, February 14, 2022

Quiet Meadow Silhouette Cards

 Quiet Meadow Silhouette Cards

I have seen so many gorgeous cards made using this layout and I just had to make some as well!


This is such a simple layout. I simply used Balmy Blue Card Stock as my card base. Either landscape or portrait orientation. 

Then I cut another piece of Balmy Blue C/S measuring 5 1/4" x 4". I embossed it using the Tasteful Textiles Embossing Folder and attached it to the card base.

I die cut some Basic Black C/S scalloped circles using the Layering Circles Dies. Then I die cut circles using the Simply Marbleous Designer Series Paper and attached them to the Basic Black C/S scalloped circles. Attach them to the card using Dimensionals. 

Die cut some floral sprigs from the Quiet Meadow Dies using Basic Black C/S and on one card I also used a Balmy Blue C/S floral sprig. Attach them to the circles.

For the sentiments, on one card I stamped directly onto the Simply Marbleous Designer Series Paper using Memento Black Ink and on the other card I added a separate sentiment strip. I used the Quiet Meadow Stamp for the sentiments. 

Add some Rhinestones if you would like and that's it! Simple right? The best part is you can earn the Simply Marbleous Designer Series Paper for free during our 2022 Sale-A-Bration promotion! For every $60.00 spent before taxes and shipping you can pick a FREE item from the SAB Catalogue. 

Check it out here! It ends February 28th, 2022

Sale-A-Bration Catalogue


 Try this layout for yourself! 

Happy Stamping and Creating!

Arlene

If you have any questions or need help choosing products please contact me and I would love to help you out. 


Product List
Paper Snips
[103579]
$13.50

Sunday, May 9, 2021

Elegance in Polished Pink

 Elegance In Polished Pink

Oh the new 2021-2023 In-Color Polished Pink is simply stunning!!! I designed this card for the challenge over at Freshly Made Sketches

Be sure to check out all the other participants.


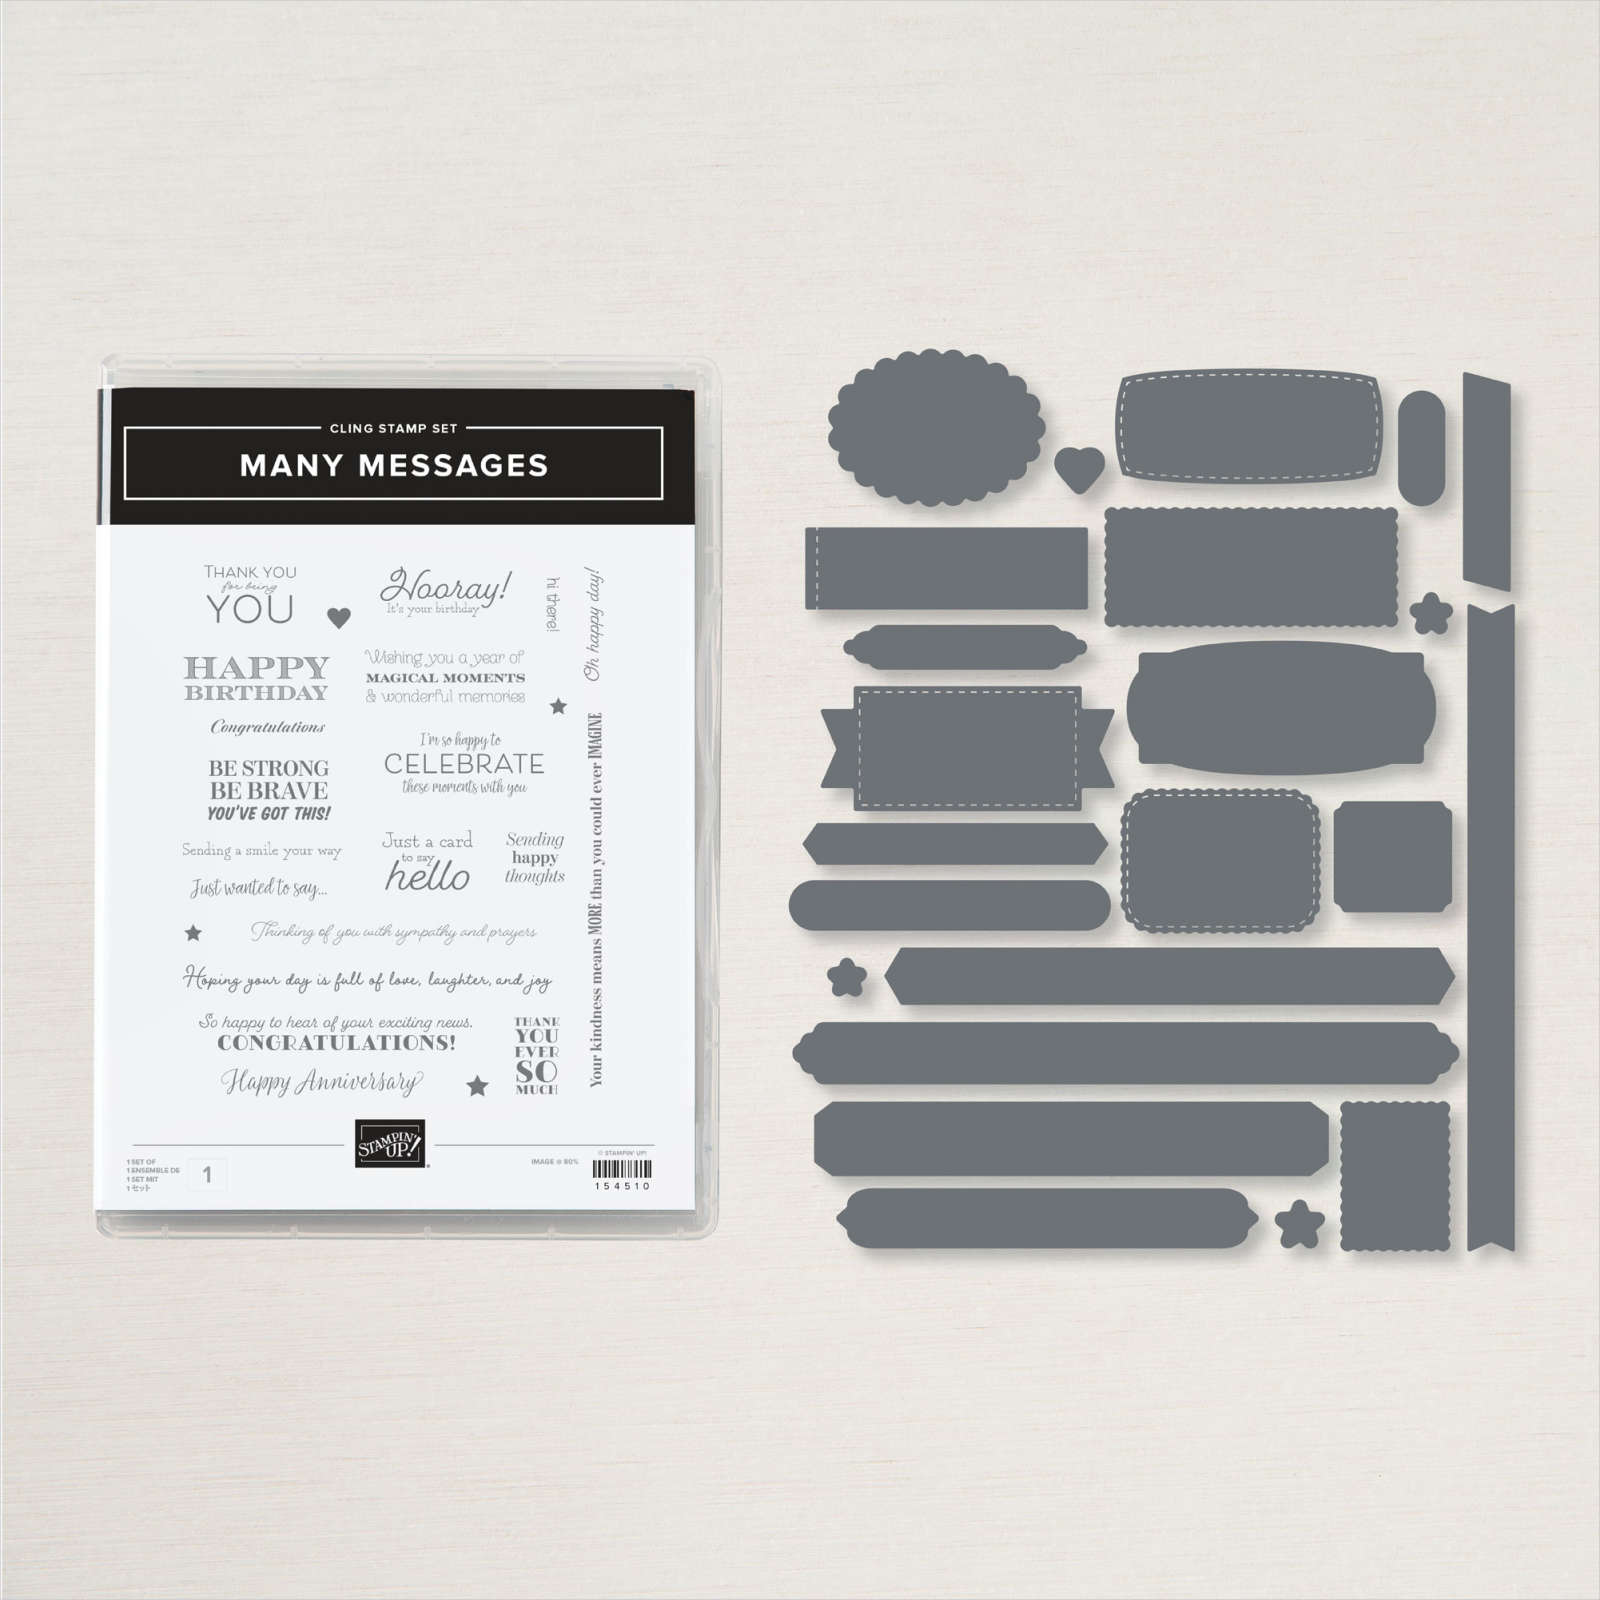
This is a super simple card. I started with a 5 1/2" x 8 1/2" card base scored at 4 1/4". I embossed the card front using the Tasteful Textiles Embossing Folder. I cut a piece of Basic Black Card Stock to 2" x 2 1/2" and a piece of Pansy Petals Designer Series Paper to 2 3/8" x 1 7/8". Glue these two pieces together and then emboss them using the Tasteful Textiles Embossing Folder. Punch out a large Basic Black C/S dragonfly using the Dragonflies Punch. Emboss it using the Tasteful Textiles EF. Attach the rectangle panel and the dragon fly to the card front using Dimensionals. Stamp a sentiment from Many Messages in VersaMark Ink and emboss using Basic Black Embossing Powder. Die cut out and attach to the card front using Dimensionals. 

*Tip: I stamped the complete stamp (it has many sentiments all in one large stamp) in VersaMark and Emboss them all, die cut them all out and then store the leftovers for future cards! It's nice to have so many sentiments all ready to go!

MANY MESSAGES BUNDLE


I finished up the card with a row of Rhinestones on the dragon fly. 


** Due to some upcoming changes to Blogger, please sign up for email alerts. When I add a new Blog post you will receive an email notifying you. Then you will never miss a post! If you previously signed up it may not work once these changes take effect. Sign up on the right hand side of the home page. 
Thank you!

Happy Stamping and Creating!
Arlene

Product List