Showing posts with label Tinsel Gems. Show all posts

Monday, July 22, 2024

Fun Fold Swinging Airplane Card


Fun Fold Swinging Airplane Card

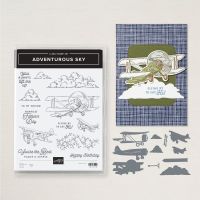
I love making easy "fun fold" cards! This one is simple, fun and interactive! The Adventurous Sky Bundle from Stampin' Up! was the perfect set for this interactive fun fold!

The airplane is hanging from a small piece of Window Sheet so that when you move the card the plane swings back and forth on the Window Sheet like a pendulum. How cool is that!!

I have a short video at the end showing how this card swings!

I've heard it also called a "swing and sway" fun fold.

Directions:

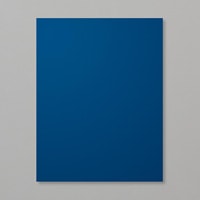
Cut a Boho Blue Card Stock base to 5 1/2" x 10 1/4" and score at 4 1/4", 7 1/4" and 9".

Fold like photo below.


 Layers:

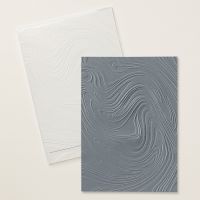
Small front flap: 1 1/8" x 5 3/8" piece of Basic White Card Stock, embossed with the So Swirly Embossing Folder.

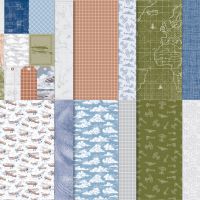
Large card front: 2 7/8" x 5 3/8" piece of the Take To The Sky Designer Series Paper.

Inside flap: 1 5/8" x 5 3/8" piece of Take To The Sky DSP.

Inside card: 1" x 5 3/8" Take to the Sky DSP.

Attach all of these pieces using Multi-Purpose Liquid Glue.


Die cut a Basic White Deckled Circle for the inside of the card. Make sure when the card is closed that this circle doesn't show. I stamped a small plane on it using Memento Black Ink. Also stamp a plane on the envelope to match the card.

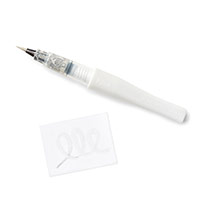
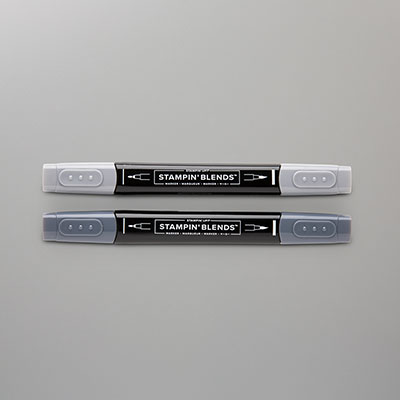
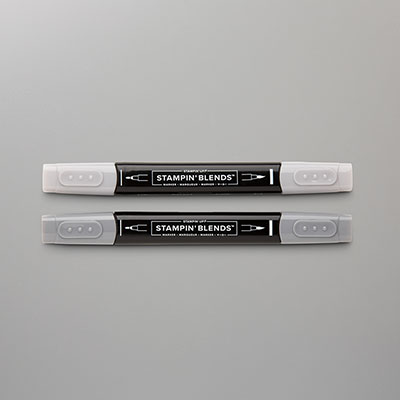
Stamp the plane onto Basic White C/S using Memento Black Ink and die cut. Colour using Stampin' Blends. I used Black on the tires and Smoky Slate on the plane. I also added Wink Of Stella to the propeller. 

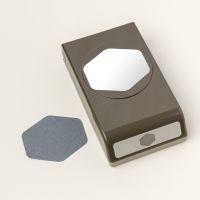
Punch out 1 Basic White C/S label and 2 Night Of Navy C/S labels using the Heartfelt Hexagon Punch. 

Stamp the sentiment onto the Basic White label using Memento Black Ink.

Layer the 2 Night Of Navy C/S labels behind the sentiment label so that just a small border of Night Of Navy shows behind. This helps the sentiment label stand out more.  


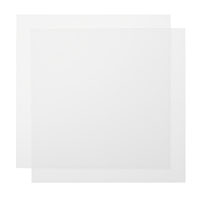
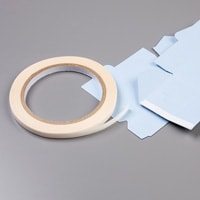
Attach the plane to the end of a 1/2" x 2 1/2" piece of Window Sheet using Tear & Tape. If you want your plane to hang lower just extend the length of the Window Sheet. 

Punch a small hole (3/8") in the other end of the Window Sheet. Attach a Mini Dimensional to the Basic White Embossed panel on the card front about 1/4 of the way down. Hook the Window Sheet hole over the Dimensional. Attach 2 more Dimensionals just above the single one, remove all the Dimensionals backings and attach the sentiment label over them. Now your plane will swing back and forth!! 

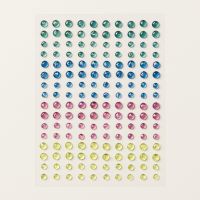
Add some Tinsel gems to finish off the card!


Here is a short video showing the airplane swinging motion.


To order any Stampin' Up! products click HERE! Thank you! 

Happy Stamping and Creating!

Arlene

Product List
Paper Snips
[103579]
$16.50

Tuesday, July 4, 2023

Bonus Days Are Back And A Fun Card!

Bonus Days Are Back And A Fun Card!

Bonus Days are coming back again July 6th-31st! Everyone loves to save! Spend $60 and receive a BONUS DAY COUPON to spend in August!! 


Now, onto my card. I used the Bright & Beautiful Memories & More Card Pack and Cards and Envelopes to make todays card. It is such a quick and easy way to design some fun cards!


I cut apart one of the cards that had lots of different sayings on it and I used that as my greeting. This card has no stamping on it.


I also used one of the pieces I cut apart and added the strip behind the "Hip, Hip, Hooray on the left side for some contrast. 


These cards packs come with these beautiful envelopes and pre-cut and scored card bases.

I finished it up with the beautiful Azure Afternoon Sheer Ribbon and some Tinsel Gems. So easy and quick!!


I hope you enjoyed todays card! 

Happy Stamping and Creating.

Arlene

🛒 Shop with me Here. Thank you.

Product List
Paper Snips
[103579]
$15.00

Thursday, June 29, 2023

New Post From WhatAJMade

 Sneak Peek Of Translucent Florals


I have been playing around again with the Translucent Florals Stamp Set. It will be available in the September-December 2023 Mini Catalogue. As a Stampin' Up! Demonstrator we get to see and purchase the new products ahead of time! It's a great perk!!


For this card I didn't even use the matching dies, I fussy cut out the flower and leaves. I also used the new Delightfully Eclectic Designer Series Paper. Have you seen it? It's on page 129 of the 2023-2024 Annual Catalogue. It contains 48 sheets! I love the different assortment of colours and patterns.


Directions:

Cut a piece of Berry Burst Card Stock to 8 1/2" x 5 1/2" and score at 4 1/4" and 2 1/8". Fold back the 2 1/8" right side onto itself to create the Z fold. Fold and burnish.

Cut a piece of the Delightfully Eclectic DSP to 5 1/2" x 2 1/8" and attach to the front flap. 

Cut a piece of Basic White C/S to 3" x 4 1/4". 

On a scrap piece of Basic White C/S, stamp the flower 2 times using Petal Pink Ink and the leave stalk 2 times using Soft Sea Foam Ink. Cut out the 2 flowers and the leaf stalks. Then cut out two single leaves from one of the leaf stalks.

On the Basic White C/S panel, glue down one leaf stalk. Using  Dimensionals, attach the 2 flowers together, then attach on top of the leaf stalk. Add the 2 separate leaves over top of the glued down leaves using Dimensionals. 

Attach this layer to a 3 1/4" x 4 1/2" piece of Basic Black C/S.

Add Dimensionals to only the left side of these layers and attach to the card front.

Stamp "Happy Birthday" using Memento Black Ink onto some Basic White C/S. Add a thin strip of Basic Black C/S under the sentiment strip. Then add Dimensionals to the sentiment and then tuck it under the flower and attach.

Add some Tinsel Gems to the card front and centre of the flower. 

For the inside of the card, cut a 4" x 5 1/4" piece of Basic White C/S. Using the leaf stamp, ink it up in Soft Sea Foam, stamp off once onto scrap paper then stamp in the middle of the inside layer. Ink up the sentiment using Memento Black Ink and stamp it over top of the leaf. 

I also added a 1/2" x 5 1/2" strip of the same DSP as the card front to the inside. 

That's it! A fun and easy Z fold card!

Happy Stamping and Creating!

Arlene

To shop any of the products that I have used today, simply click on the pictures below and you will be directed to my on-line Stampin' Up! Store. Thank you for stopping by today!

Product List
Paper Snips
[103579]
$15.00