Fun Fold Swinging Airplane Card
I love making easy "fun fold" cards! This one is simple, fun and interactive! The Adventurous Sky Bundle from Stampin' Up! was the perfect set for this interactive fun fold!
The airplane is hanging from a small piece of Window Sheet so that when you move the card the plane swings back and forth on the Window Sheet like a pendulum. How cool is that!!
I have a short video at the end showing how this card swings!

I've heard it also called a "swing and sway" fun fold.
Directions:
Cut a Boho Blue Card Stock base to 5 1/2" x 10 1/4" and score at 4 1/4", 7 1/4" and 9".
Fold like photo below.


Small front flap: 1 1/8" x 5 3/8" piece of Basic White Card Stock, embossed with the So Swirly Embossing Folder.
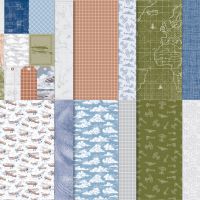
Large card front: 2 7/8" x 5 3/8" piece of the Take To The Sky Designer Series Paper.
Inside flap: 1 5/8" x 5 3/8" piece of Take To The Sky DSP.
Inside card: 1" x 5 3/8" Take to the Sky DSP.
Attach all of these pieces using Multi-Purpose Liquid Glue.

Die cut a Basic White Deckled Circle for the inside of the card. Make sure when the card is closed that this circle doesn't show. I stamped a small plane on it using Memento Black Ink. Also stamp a plane on the envelope to match the card.

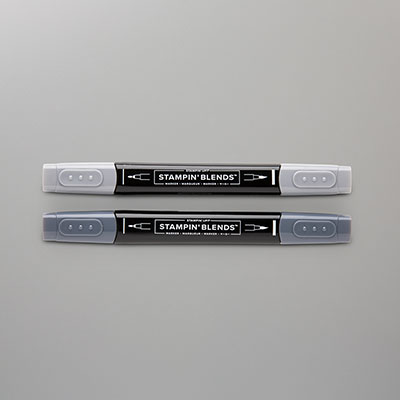
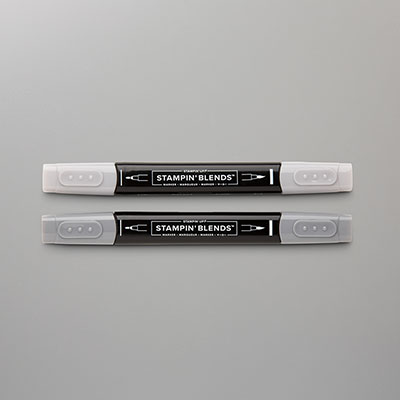
Stamp the plane onto Basic White C/S using Memento Black Ink and die cut. Colour using Stampin' Blends. I used Black on the tires and Smoky Slate on the plane. I also added Wink Of Stella to the propeller.

Punch out 1 Basic White C/S label and 2 Night Of Navy C/S labels using the Heartfelt Hexagon Punch.
Stamp the sentiment onto the Basic White label using Memento Black Ink.
Layer the 2 Night Of Navy C/S labels behind the sentiment label so that just a small border of Night Of Navy shows behind. This helps the sentiment label stand out more.

Attach the plane to the end of a 1/2" x 2 1/2" piece of Window Sheet using Tear & Tape. If you want your plane to hang lower just extend the length of the Window Sheet.
Punch a small hole (3/8") in the other end of the Window Sheet. Attach a Mini Dimensional to the Basic White Embossed panel on the card front about 1/4 of the way down. Hook the Window Sheet hole over the Dimensional. Attach 2 more Dimensionals just above the single one, remove all the Dimensionals backings and attach the sentiment label over them. Now your plane will swing back and forth!!

Add some Tinsel gems to finish off the card!


Here is a short video showing the airplane swinging motion.
To order any Stampin' Up! products click HERE! Thank you!
Happy Stamping and Creating!
Arlene
Product List 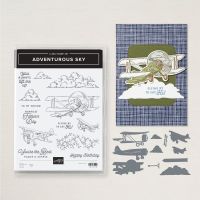 | 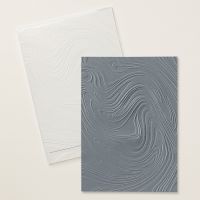 | 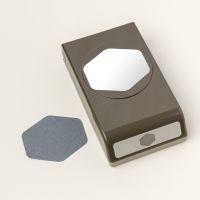 | |
 |  |  | |
 |  | ||
 |  |  |  |
 |  |  |  |

.jpg)


