Paper Napkin Card!
Paper napkins are not just for cleaning your face anymore! You can also make gorgeous cards with them!
I taught this technique to some new stampers today, they will never look at a paper napkin in the same way!

The Dollar Stores in my area have a great selection of paper napkins.
Directions:
Cut a Gorgeous Grape Card Stock Base to 8 1/2" x 5 1/2", score at 4 1/4".
Cut 2 pieces of Basic White C/S: 1 @ 4" x 5 1/4" and 1@ 4 1/8" x 5 3/8".
Remove all the white backing from the paper napkin until you are left with just the patterned layer.


Lay down a scrap piece of paper onto your work surface. Using a "glue stick" (like you used in school), completely cover the Basic White C/S layer with glue. Then lay your napkin, right side facing out onto the card stock and gently smooth it out.
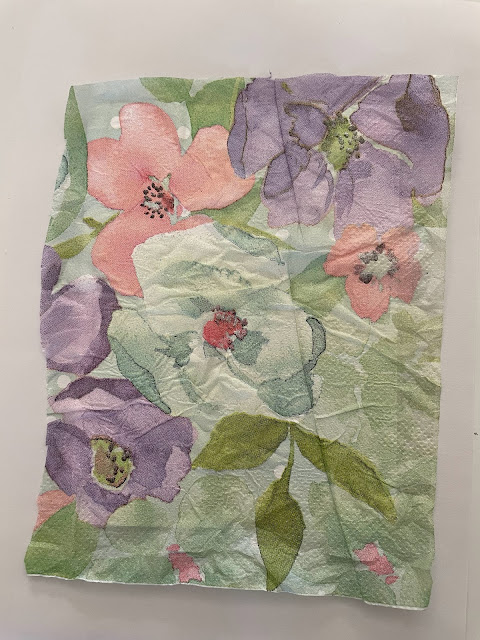
Turn this layer over. Using Multi-Purpose Liquid Glue or Stampin' Seal, glue the excess of the napkin to the back of the layer.

Then attach this layer to the slightly larger Basic White C/S layer.

Attach these layers to the card base using Dimensionals.
Stamp a sentiment using Gorgeous Grape Ink onto some Basic White C/S and punch out with the 2" Circle Punch.
Punch out a Vellum Decorative Circle. Attach the sentiment circle to the Vellum using Dimensionals. Then attach it to the card front.

Add a Gorgeous Grape Sheer Ribbon Bow and some cute Brushed Brass Butterflies to finish off the card.

A few of the supplies I have used are retired so use what you have on hand.

I hope I have helped you to look at paper napkins in a whole different way!
If you need any supplies from Stampin' Up! please reach out and I can help you place an order or help you decide what you need.
If you place a $60 or more order with me I will send you one of these cards! Valid until June 30, 2023.
Happy Stamping and Creating!
Arlene
Product List
 |  |  |  |
 | |||